Draw Finite Construction Lines Autocad
Introduction to Construction Line in AutoCAD
Auto cad is 2d and 3d computer-aided design software that the engineering professionals use to make different type of 2d and 3d drawings of different components. We have many different types of commands in auto cad, which helps us in our working. Construction line is one of the 2d commands which used as a reference line in our drawing for managing accurate parameters of our drawing. We also know it as an X-line command in auto cad. In this article, we will discuss this command and learn about handling different components of this command with an example. So let us start our learning about this topic.
How to Use Construction Line or X Line in AutoCAD?
We can use the construction line in our work in a few simple steps and get many reference lines in our drawing for getting the best result in our project work. But before starting our work, let us have a look at the working screen of this software so that we can better understand this topic throughout our article.
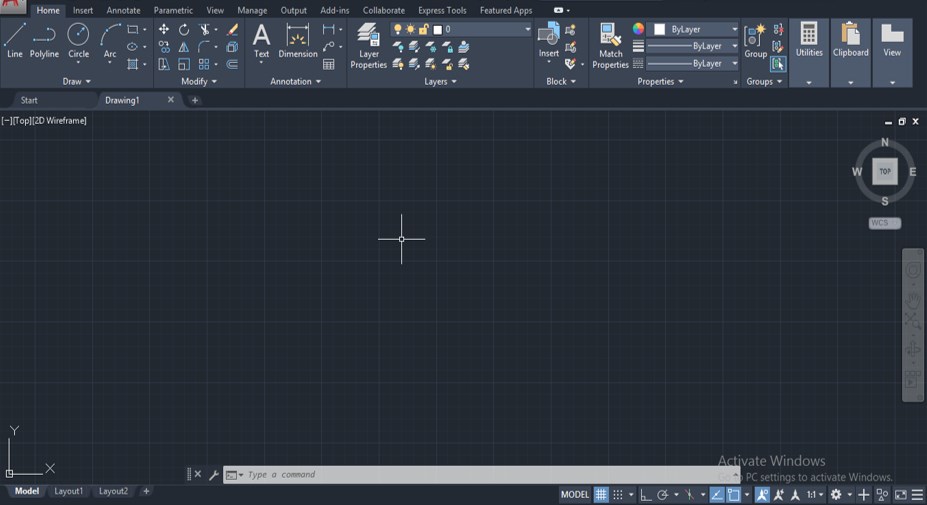
Step 1: At the top of the working screen there is a ribbon in which we have few tabs such as Home, Insert, Annotation, View and some other for managing different type of commands in this software, below this we have a working window in which you can see our current working, below this working window we have some navigation commands for handling our drawing work in this software.
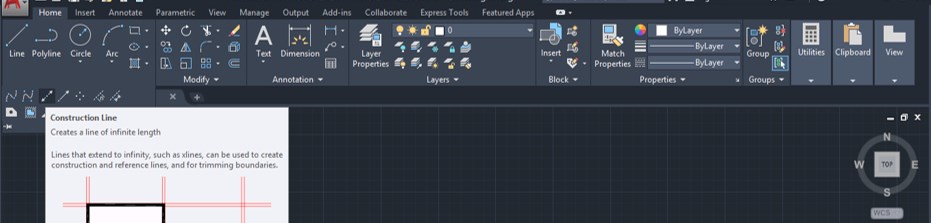
Step 2: You can find the construction line command from the Draw menu of the Home tab of this software with this type of line icon.
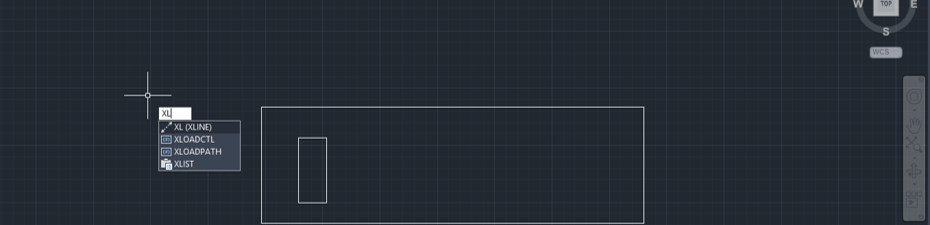
Step 3: Or you can use short cut command for the construction line, which is type XL, then press enter button of the keyboard and your command will be active.
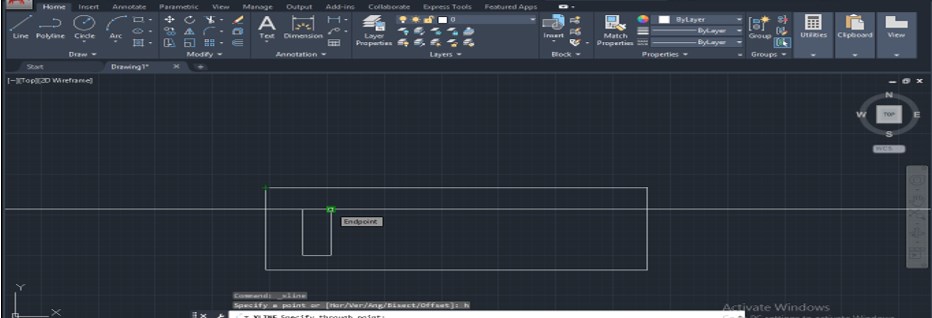
Step 4: Now, it will ask you to specify the point from where you want to start the construction line.
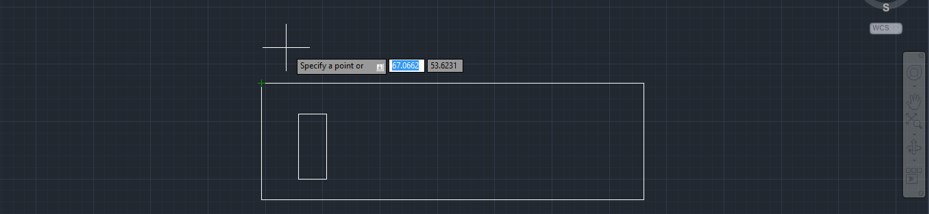
Step 5: I will click on this corner point of this rectangle shape. When you make a click, an infinite line will come at this point which you can make it as a reference line in your drawing.
Step 6: If you want it as a vertical line the make click in the vertical direction at a specific point of your shape, and a vertical line will come on your drawing.
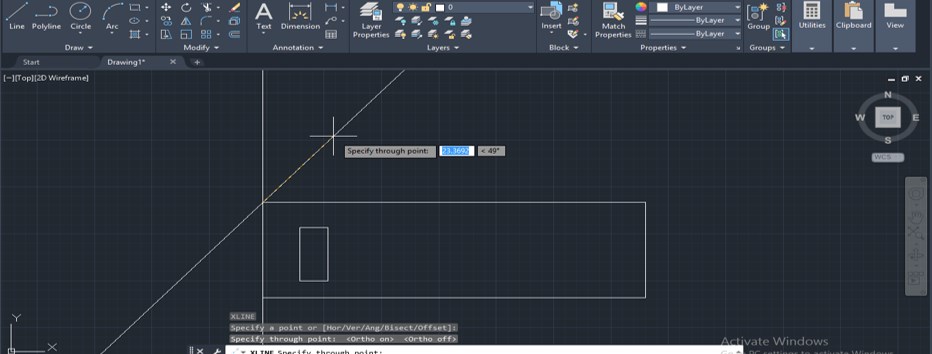
Step 7: You can again use this command for making a horizontal line in your drawing. Making horizontal lines makes a click at a specific point on your shape in the horizontal direction, and a horizontal line will come on your drawing as a reference line.
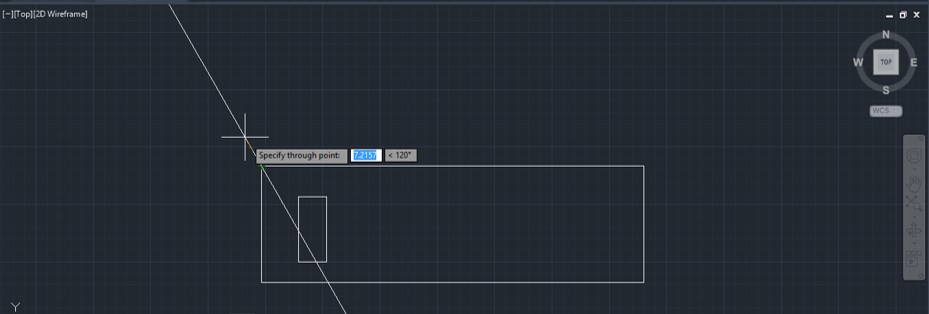
Step 8: You can draw a diagonal construction line also. Just make click on the opposite point of this shape, and the reference line will come at the diagonal of this shape.
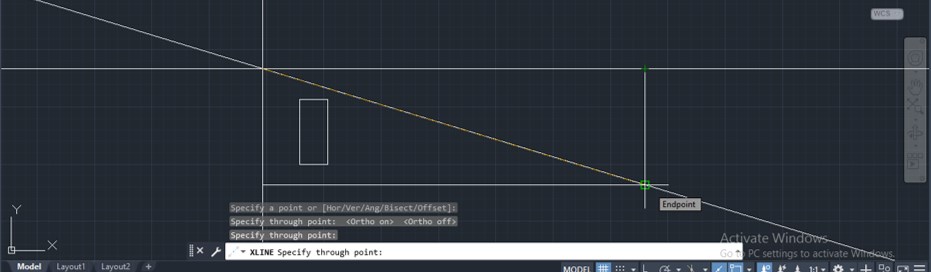
Step 9: You can delete any construction line at any point in your work; for deleting any line to select that line and press the delete button on the keyboard.

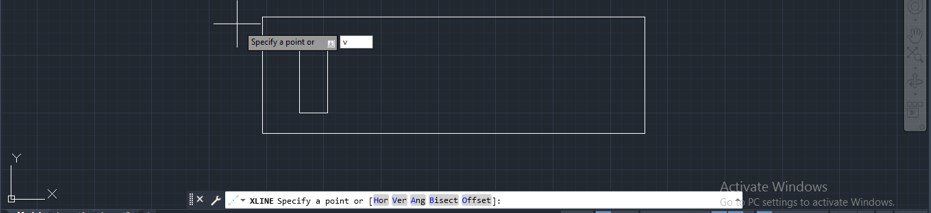
Step 10: This was a freehand drawing of the construction line. Now let us discuss the options of this command for making accurate construction lines. Take the construction line command, and once you take it, this option will come in the parameters box of this command.

Step 11: Now, if you want to draw the horizontal line, then press the H button on the keyboard then press the enter key.

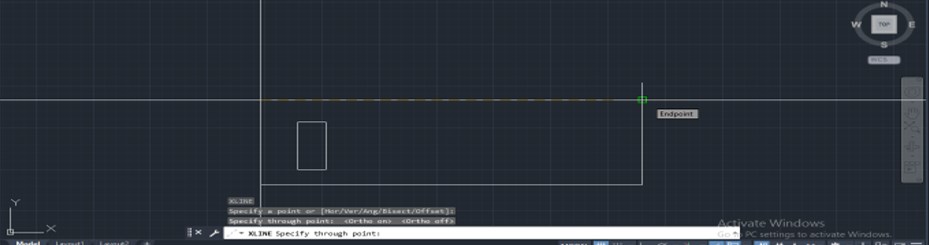
Step 12: Once you make a click, a horizontal construction line will come on your working screen of drawing. You can now place it at your desired place to make it a horizontal reference line in your drawing.
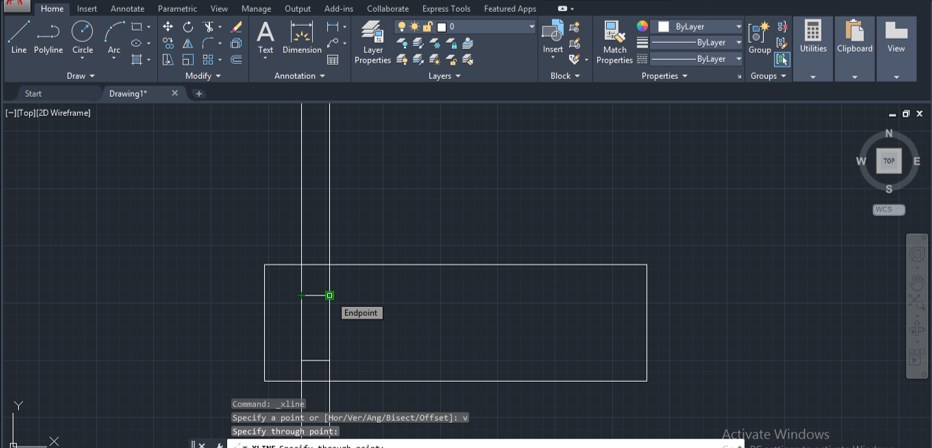
Step 13: Now, if you want to draw a vertical construction line, then press the V button from the keyboard then press enter button of the keyboard.
Step 14: Once you make enter, a vertical line will become on your working screen of drawing. You can place this vertical line at your desired place for making it a vertical reference line in your drawing.
Step 15: If you want to make a construction line at a particular angle or inclination, then press the A button from the keyboard then press enter button of the keyboard.
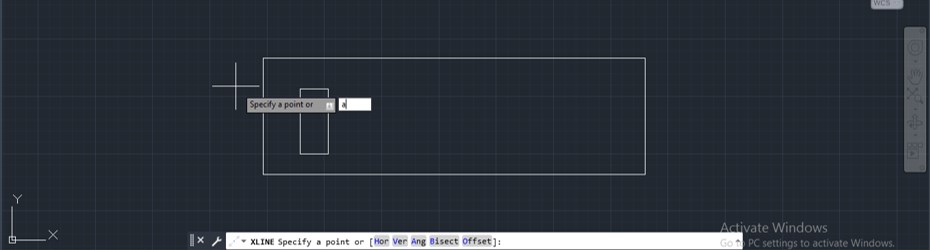
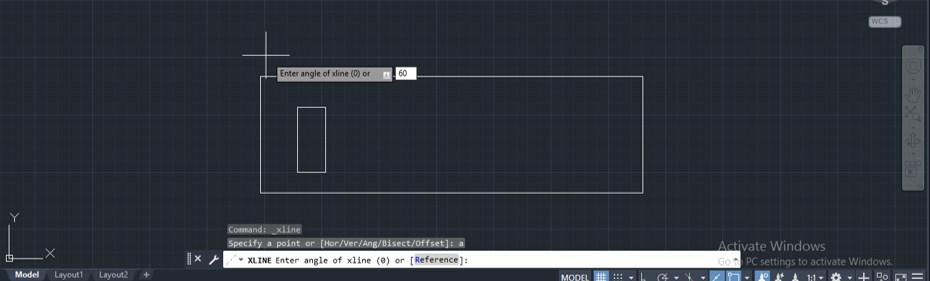
Step 16: Once you press the enter button, it will ask you to give the value of the angle at which you want to incline your construction line. I will enter 60 degrees as the inclination angle of my construction line for making it a reference line at a 60-degree inclination, then press enter button of the keyboard.
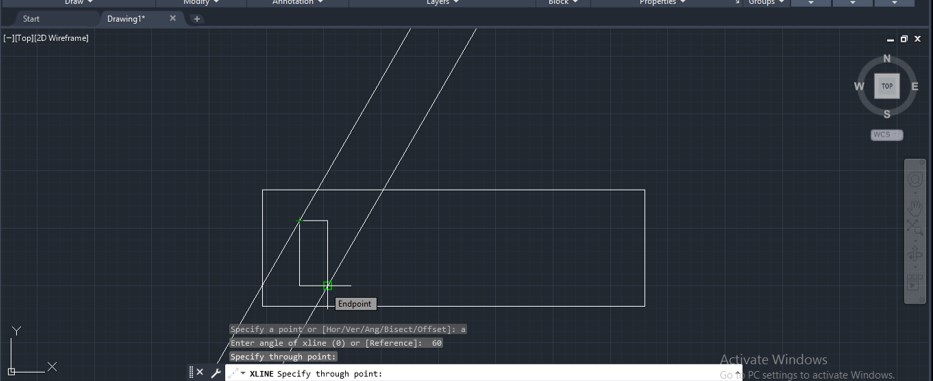
Step 17: Once you press enter button, a construction line of 60-degree inclination will come on the working screen of your drawing. You can place this incline line at your desired place in your drawing.
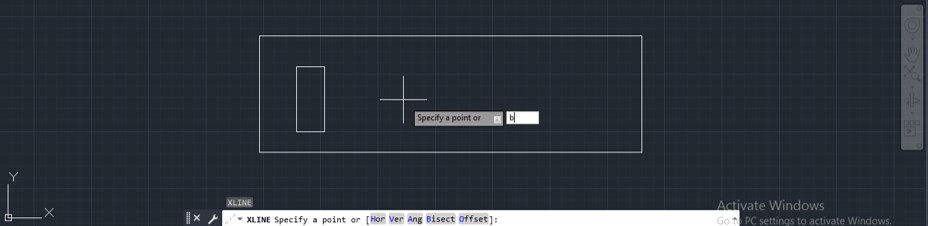
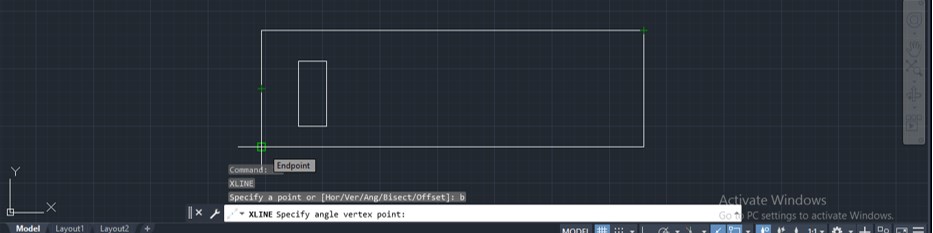
Step 18: You can use this construction line as a bisect reference line. For bisect construction line, press B button from keyboard then press enter button of the keyboard.
Step 19: Now, it will ask you to specify any angle or vertex or point along which you want to use the bisect construction line. I will click on this corner point of this rectangle.
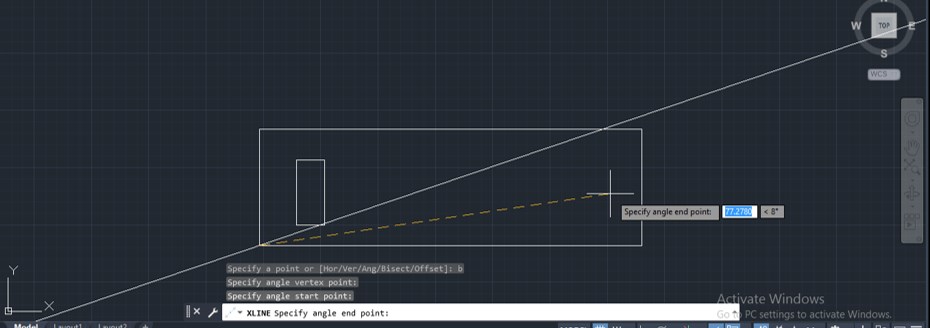
Step 20: Once you make a click, a bisect construction line will come on your screen, and you can specify the second point for making its reference line.
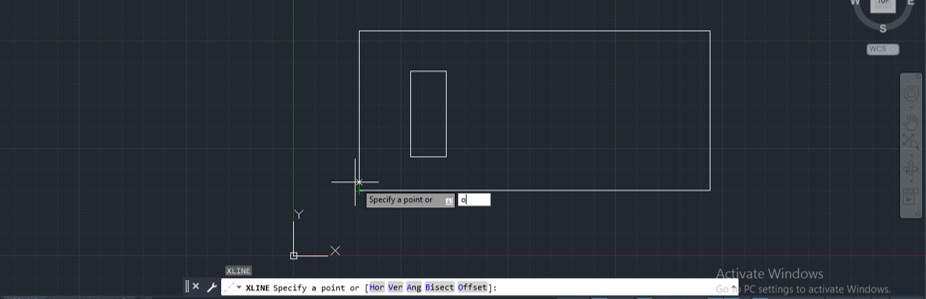
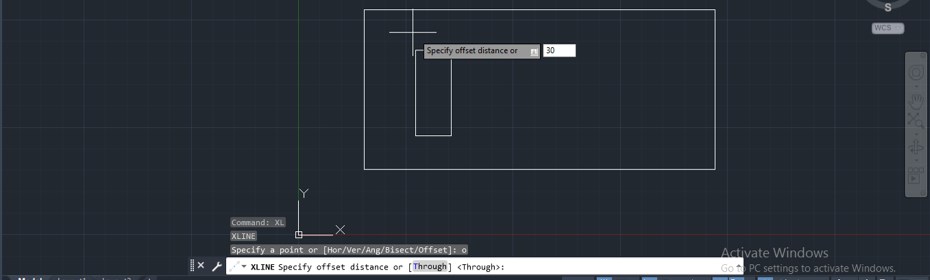
Step 21: You can offset the construction line at a particular distance in your drawing. For this, press the O button of the keyboard, then press enter button of the keyboard.
Step 22: Once you press enter button, it will ask you to take a line through which you want to offset the construction line.
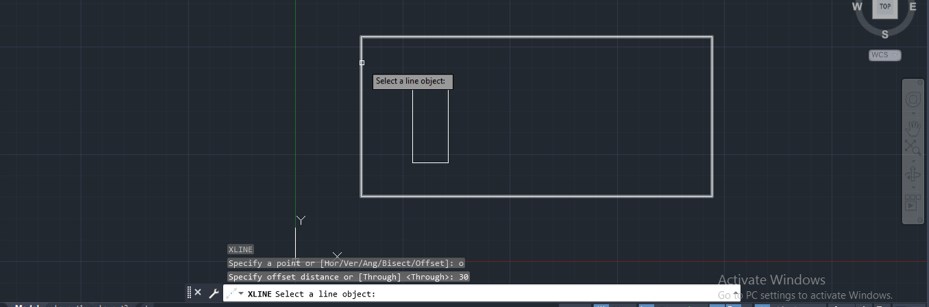
Step 23: Now, it will ask you to give the offset distance at which you want to offset this construction line. I will give 30 as distance.
Step 24: Now make click in the direction in which you want to offset this construction line. I will click in the right direction of my chosen line.
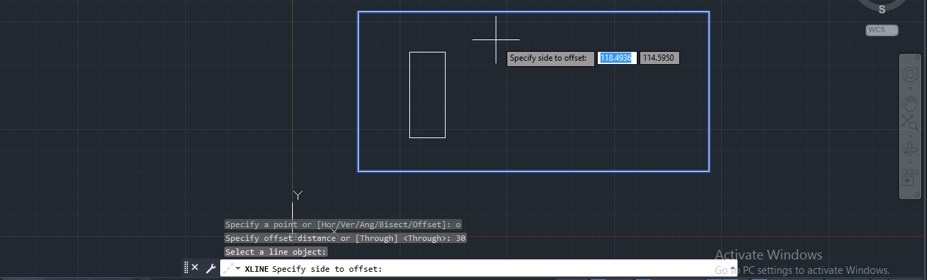
Step 25: And construction line will offset at 30 distance from my chosen line.
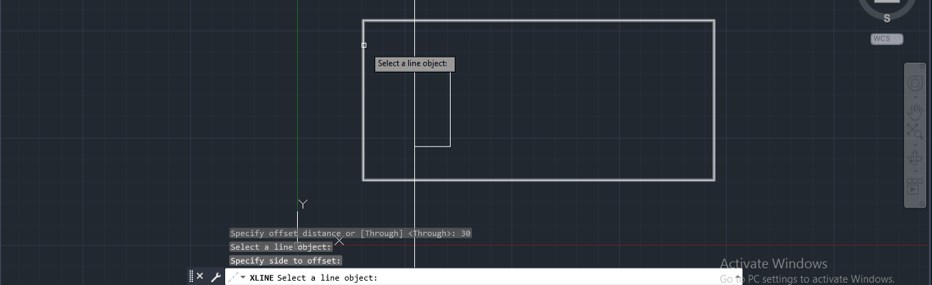
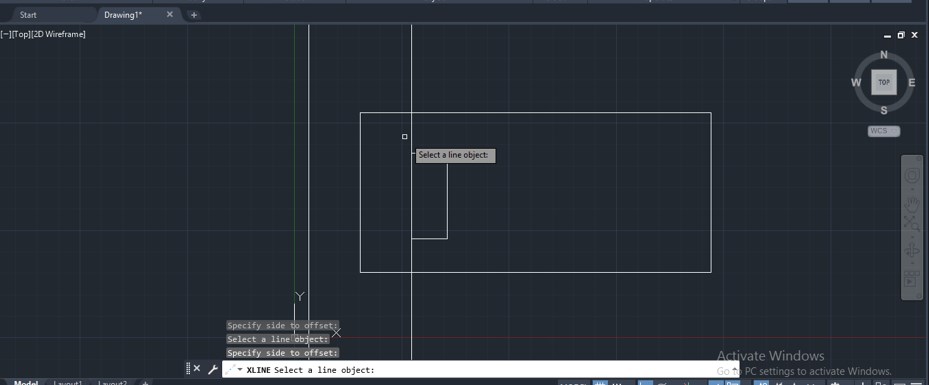
Step 26: You can offset it in another direction by use this command again. Just drag the mouse cursor in other directions and make a click.
In this way, you won't use the construction line command in auto cad.
Conclusion – Construction Line in AutoCAD
Now after this article you can understand what construction line is in auto cad and how you can handle its parameter for making reference line in you drawing from a different direction. You can make different modifications in reference lines by using other features of this software.
Recommended Articles
This is a guide to Construction Line in AutoCAD. Here we discuss an introduction, how to use Construction Line in AutoCAD in a step by step manner. You can also go through our other related articles to learn more –
- Lines in AutoCAD
- AutoCAD Function Keys
- Spline in AutoCAD
- Layout in AutoCAD
Source: https://www.educba.com/construction-line-in-autocad/
0 Response to "Draw Finite Construction Lines Autocad"
Post a Comment